Introduction
In the ever-evolving landscape of software development, efficiency and productivity are paramount, particularly for Rust developers seeking to harness the full potential of their projects. Integrating Rust Analyzer into Visual Studio Code (VS Code) not only streamlines the coding process but also enhances collaboration and code quality.
This comprehensive guide walks through the prerequisites for installation, step-by-step setup, and configuration of Rust Analyzer, ensuring that developers can leverage its powerful features to optimize their workflow.
From real-time error checking to automated code reviews, the capabilities of Rust Analyzer, especially when combined with Kodezi's tools, empower developers to write cleaner, more efficient code while minimizing common pitfalls.
Embrace the future of Rust development and unlock your coding potential with these essential insights.
Prerequisites for Installing Rust Analyzer in VS Code
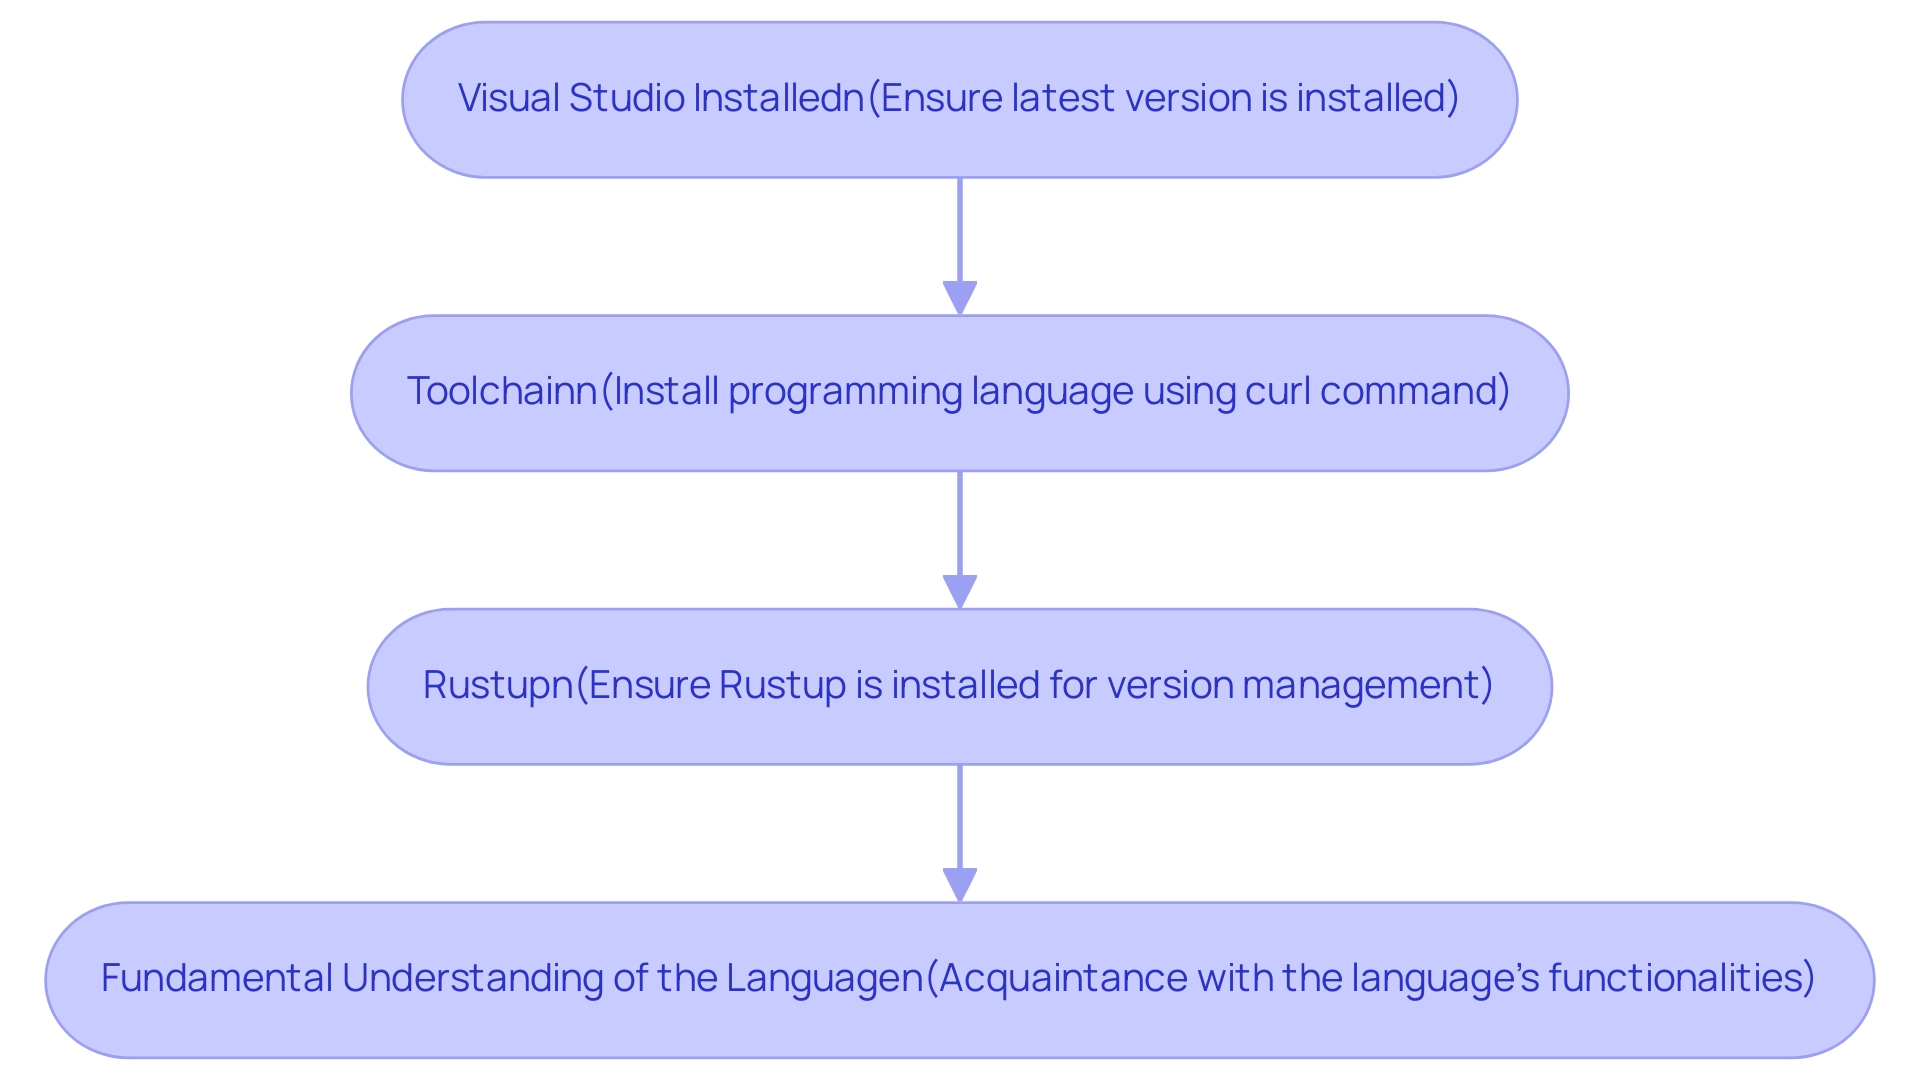
Before installing Rust Analyzer in Visual Studio, ensure you have the following prerequisites:
- Visual Studio Installed: Make sure you have the latest version of VS installed on your machine. You can download it from the official VS Code website.
- Toolchain: Install the programming language on your system. You can do this by following the instructions on the official site for the programming language. This typically involves running the command:
curl --proto '=https' --tlsv1.2 -sSf https://sh.rustup.rs | sh - Rustup: Ensure that Rustup is installed, as it assists in managing programming language versions and associated tools. This is typically included when you install the toolchain.
- Fundamental Understanding of the Language: Acquaintance with this programming language is advantageous, as it will assist you in comprehending the functionalities that related tools provide.
Possessing these requirements will simplify the setup procedure and guarantee that you can install Rust Analyzer to operate effectively within your development environment.

Step-by-Step Installation Guide for Rust Analyzer in VS Code
Setting up the programming tool in Visual Studio is a simple task that can greatly improve your efficiency in coding. Follow this step-by-step guide to ensure a successful installation:
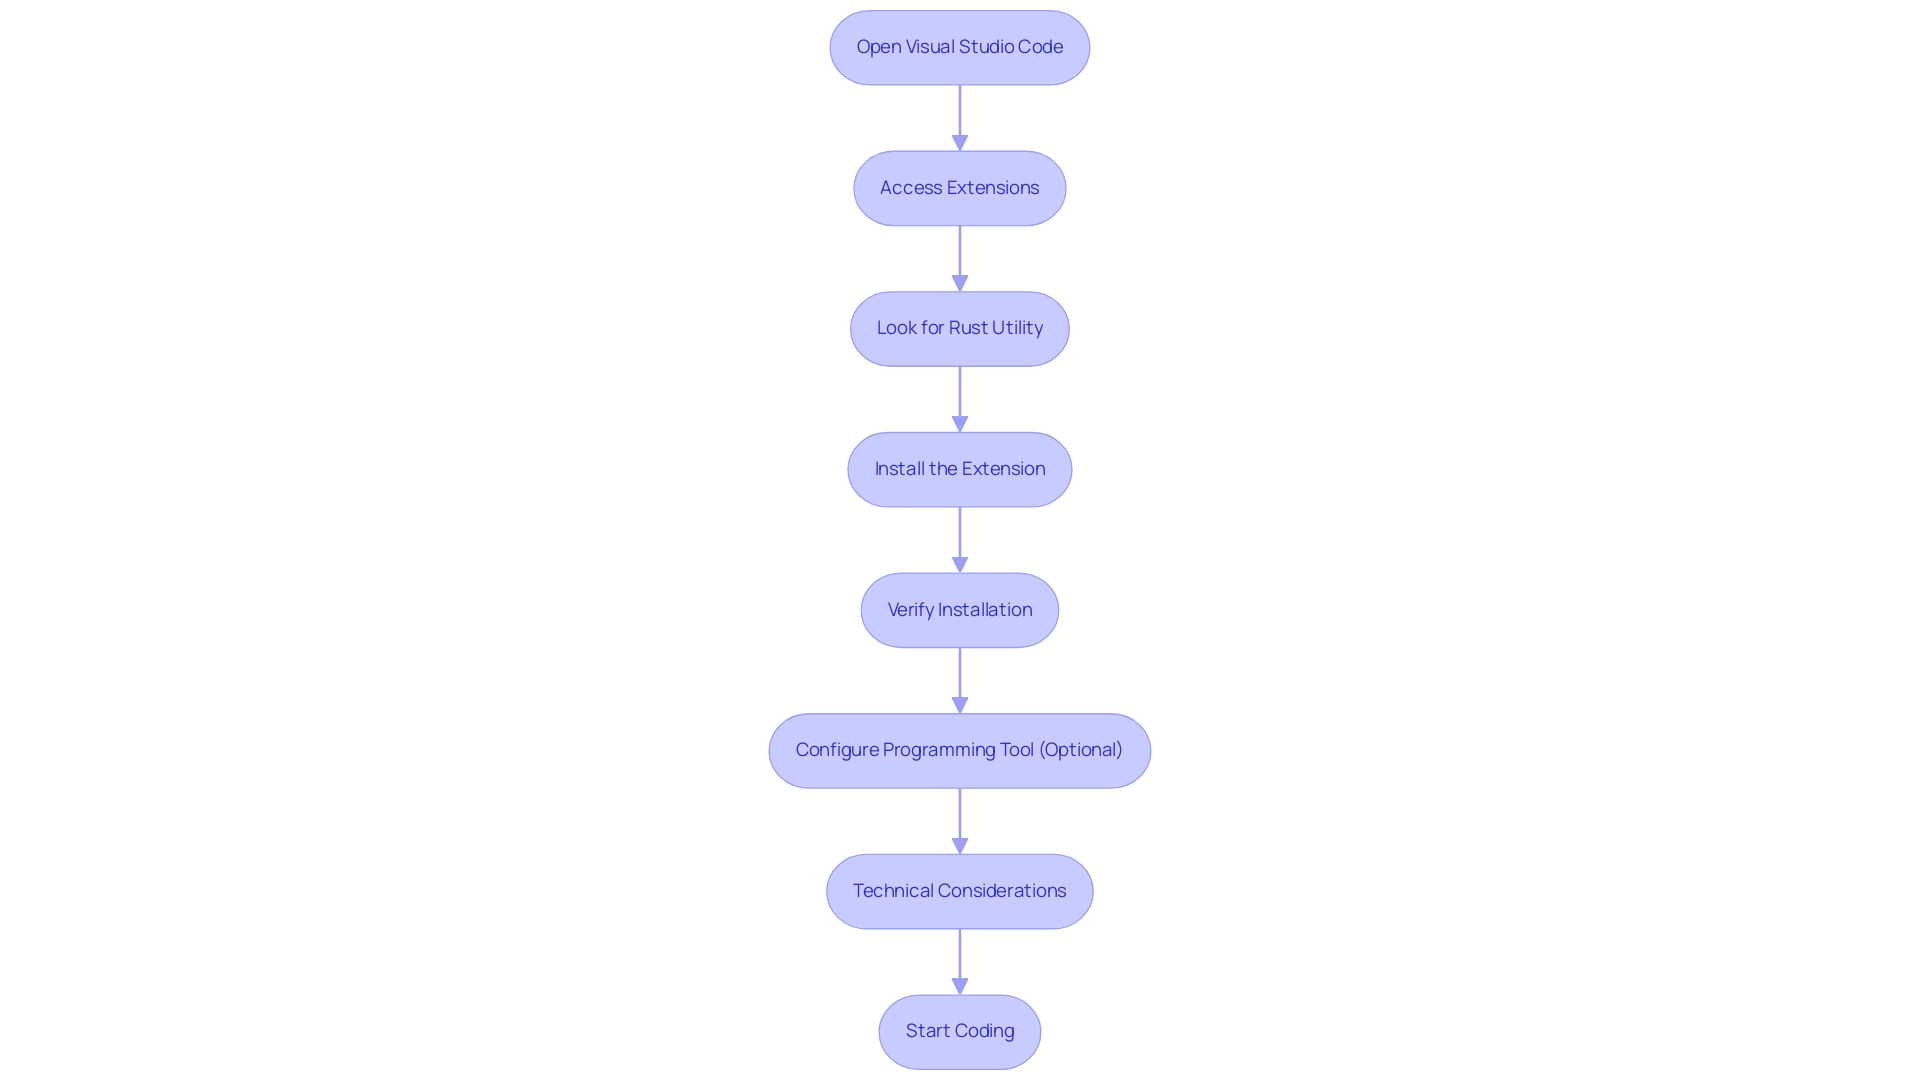
- Open Visual Studio Code: Start the VS Code application on your computer.
- Access Extensions: Click on the Extensions icon in the Activity Bar or use the shortcut
Ctrl+Shift+Xto open the Extensions view. - Look for Rust Utility: In the search field, enter 'Rust Utility' and find the extension titled 'rust-utility'.
- Install the Extension: Click the 'Install' button next to the programming tool extension.
The installation process will begin automatically, streamlining your setup.
- Verify Installation: After setup, the programming tool icon should show up in the Extensions view. Click on it to view its details and ensure it is activated.
- Configure Programming Tool (Optional): For users aiming to customize their experience, open the settings menu through
File > Preferences > Settingsand look for 'Programming Tool'. Adjust the settings based on your project's unique needs. - Technical Considerations: When using the tool, remember that lines sent to it must be terminated by
\r\n, and the Content-Length header is mandatory for proper communication. This ensures that your requests are correctly interpreted by the analyzer. - Start Coding: Open an existing project in the programming language or create a new one to begin utilizing the tool. The extension will automatically offer functionalities like code completion and linting to improve your productivity.
By following these steps, you can ensure that the tool is smoothly integrated into your development environment, allowing you to install rust analyzer to enhance your efficiency and coding experience. Remember, if you face any installation difficulties, you can always use the command :MasonInstall rust-analyzer --force to install rust analyzer and resolve potential issues. As mbrubeck noted, to issue LSP requests, simply run rust-analyzer and send the requests to its stdin, which can further streamline your development workflow.

Configuring Rust Analyzer Settings
After you install rust analyzer and set up the programming tool, you might wish to adjust its settings to fit your workflow. Follow these steps:
-
Open Settings: In VS Code, go to
[[File > Preferences](https://blog.kodezi.com/3-essential-practices-for-effective-lsp-config) > Settings](https://blog.kodezi.com/3-essential-practices-for-effective-lsp-config)or pressCtrl + ,. -
Search for Tool: In the search bar, type 'Tool' to filter settings related to the extension.
-
Adjust Settings: You can customize various options such as:
- Enable/Disable Features: Toggle features like code completion, inlay hints, and more.
- Change the Path to Rust Toolchain: If you have multiple toolchains, specify the one you want Rust Analyzer to use.
- Set Up Clippy: Enable Clippy for additional linting capabilities.
-
Save Your Configuration: Once you’ve made your adjustments, close the settings tab.
Your modifications will be stored automatically.
By installing rust analyzer, setting up the language tool can greatly enhance your development experience by aligning the utility with your preferences and boosting your productivity.
Using Rust Analyzer Features
The tool comes with a variety of features designed to enhance your coding experience while integrating seamlessly with Kodezi's powerful developer resources. Here are some key functionalities to explore:
- Syntax Completion: While you type, the tool suggests completions based on the context, aiding you in writing scripts more quickly.
- Inlay Hints: This feature offers extra information such as types and parameter names inline, which can enhance readability.
- Error Verification: The Analyzer executes real-time error verification, emphasizing problems as you write, which assists in preserving quality. Coupled with Kodezi's automated debugging, you can instantly identify and resolve codebase issues while receiving detailed explanations on fixes.
- Refactoring Tools: Use built-in refactoring tools to simplify restructuring without altering its functionality, ensuring your system remains optimized and compliant with security standards.
- Go to Definition: Quickly navigate to the definition of functions, structs, or enums by right-clicking and selecting 'Go to Definition'.
- Script Formatting: Automatically organize your scripts according to programming standards, ensuring uniformity throughout your project. Kodezi also enhances this by fixing performance bottlenecks and adding exception handling effortlessly.
- Effortless Deployment: Kodezi allows you to deploy changes as part of your existing release process, streamlining your workflow and ensuring that updates are implemented smoothly.
- Automated Code Reviews and API Documentation: Kodezi's suite of tools automates code reviews and keeps your API documentation in sync with code changes, significantly enhancing your productivity and ensuring that your documentation is always up to date.
By utilizing these features and integrating Kodezi's suite of tools for automated code reviews and API documentation, you can significantly enhance your productivity and code quality while working with the programming language.
Troubleshooting Common Issues
When encountering difficulties with the tool, consider these streamlined troubleshooting strategies:
- Analyzer Not Functioning: Verify that the extension is active in the Extensions view. If it's turned off, enable it and restart VS for it to take effect.
- Completion Issues: Ensure that the programming toolchain is properly installed. You can confirm this by executing
rustup showin your terminal to check the installation status. - Performance Lags: If you encounter sluggishness with the tool, modify settings related to features such as inlay hints. Disabling unnecessary features can significantly enhance performance.
- Interpreting Error Messages: Pay close attention to any error messages that appear in the output panel; they can provide critical insights into potential setup issues.
- Regular Updates: Keep both VS Code and programming tools by upgrading them to their latest versions, ensuring that you benefit from recent performance improvements and bug fixes.
Implementing these troubleshooting steps can effectively resolve common issues, allowing you to maintain a productive coding environment with the tools. For instance, after enabling the auto-save feature in VSCode, one user noted a marked improvement in the responsiveness of error messages while programming in a different language. They expressed appreciation for the solution but also recommended considering a keyboard shortcut for 'Save All Files' should they choose to disable auto-save later.
This highlights the proactive measures users can take to optimize their experience. Additionally, it's important to remember that the secret number generated in the range of 1 to 101 serves as a reminder of the necessity to install Rust Analyzer for precise configurations. Furthermore, as Jeff noted, this tells Code Runner to use the 'cargo run' command, instead of 'rustc', which is a common configuration oversight.
These insights were derived from discussions on Stack Overflow, underscoring the relevance of community-driven solutions.
Conclusion
Integrating Rust Analyzer into Visual Studio Code is a game-changer for developers looking to boost their productivity and streamline their coding processes. By ensuring the right prerequisites are met, following the straightforward installation steps, and configuring settings to match individual workflows, developers can unlock a suite of powerful features that enhance code quality and efficiency.
From real-time error checking and code completion to advanced refactoring tools, Rust Analyzer, particularly when paired with Kodezi's capabilities, transforms the development experience. These tools not only simplify coding tasks but also facilitate collaboration and maintain high standards across projects.
As challenges arise, knowing how to troubleshoot common issues can keep development on track, allowing developers to focus on what truly matters: writing high-quality code. Embracing Rust Analyzer and Kodezi’s tools can lead to a more efficient and enjoyable coding journey, empowering developers to realize their full potential in the Rust programming landscape.
Frequently Asked Questions
What prerequisites do I need to install Rust Analyzer in Visual Studio?
You need to have the latest version of Visual Studio installed, the programming language toolchain, Rustup, and a fundamental understanding of the programming language.
How can I install the programming language toolchain?
You can install it by running the command: curl --proto '=https' --tlsv1.2 -sSf https://sh.rustup.rs | sh.
What steps should I follow to set up Rust Analyzer in Visual Studio Code?
- Open Visual Studio Code. 2. Access the Extensions view by clicking the Extensions icon or using
Ctrl+Shift+X. 3. Search for 'Rust Utility' and install the 'rust-utility' extension. 4. Verify the installation in the Extensions view. 5. Optionally configure the programming tool settings. 6. Start coding with an existing project or create a new one.
What optional configurations can I adjust for Rust Analyzer?
You can enable/disable features, change the Rust toolchain path, and set up Clippy for additional linting capabilities.
What features does Rust Analyzer provide to enhance coding experience?
Key features include syntax completion, inlay hints, error verification, refactoring tools, 'Go to Definition,' script formatting, effortless deployment, and automated code reviews with API documentation.
What should I do if Rust Analyzer is not functioning properly?
Check if the extension is active, ensure the programming toolchain is properly installed, modify settings to improve performance, interpret error messages in the output panel, and keep both Visual Studio Code and the tools updated.
How can I verify the installation status of the programming toolchain?
You can verify it by running the command rustup show in your terminal.


